Peach Hand Pies
These peach hand pies are next-level good! Made with a flaky, fool-proof, all-butter pie dough and filled with ripe peaches, goat cheese, plus a bit of green chile and basil, they ride the delicious line between savory and sweet.

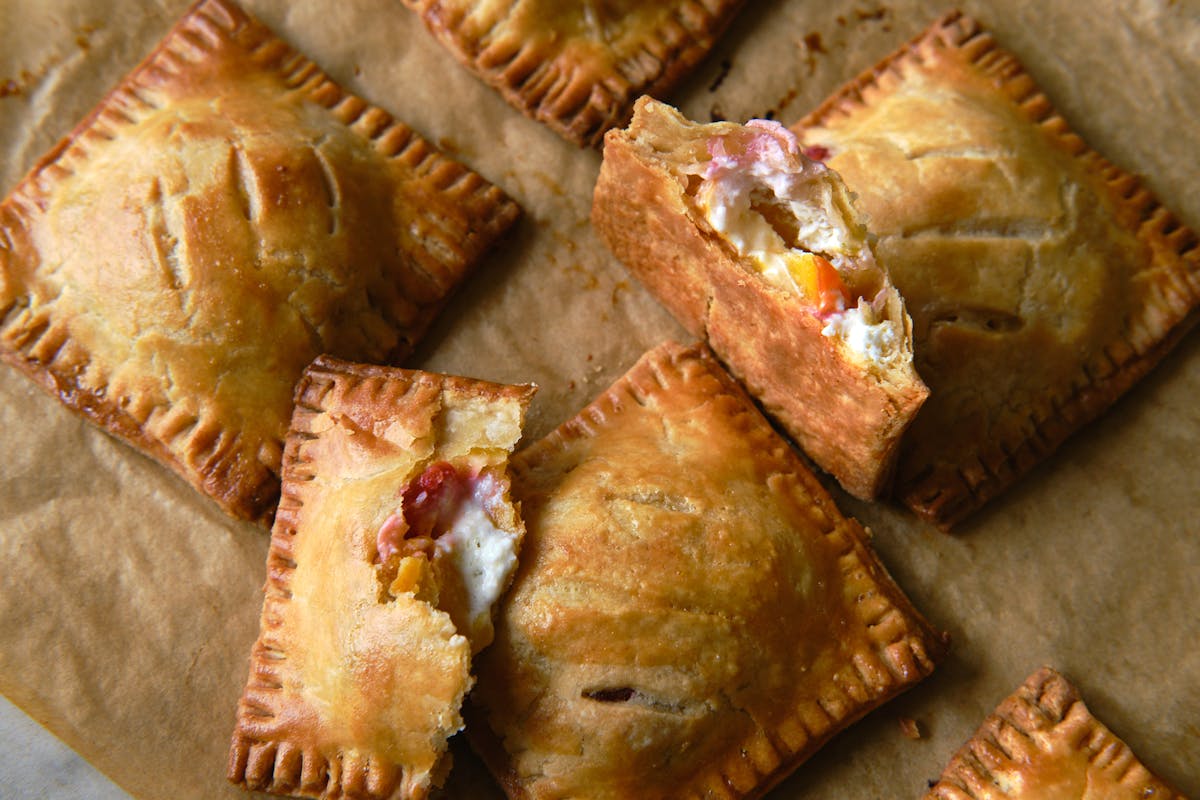
Compact and self-contained, the list of reasons to love a hand pie is long. Especially for people who love a well-baked, buttery pie crust. Hand pies know how much pie crust fans love them. Compared to a standard slice of pie, the ratio of crust to filling of a hand pie is excellent. These peach hand pies are best made with ripe, flavor-packed summer fruit. Goat cheese and a kiss of green chili pulls them toward the savory side, while a bit of brown sugar bumps up the sweetness of the peaches. They’re wonderful, and I’m thrilled I have a stack of them in my freezer right now - shaped and filled - ready to bake on a whim. Let’s talk about a few important details, to get them right.
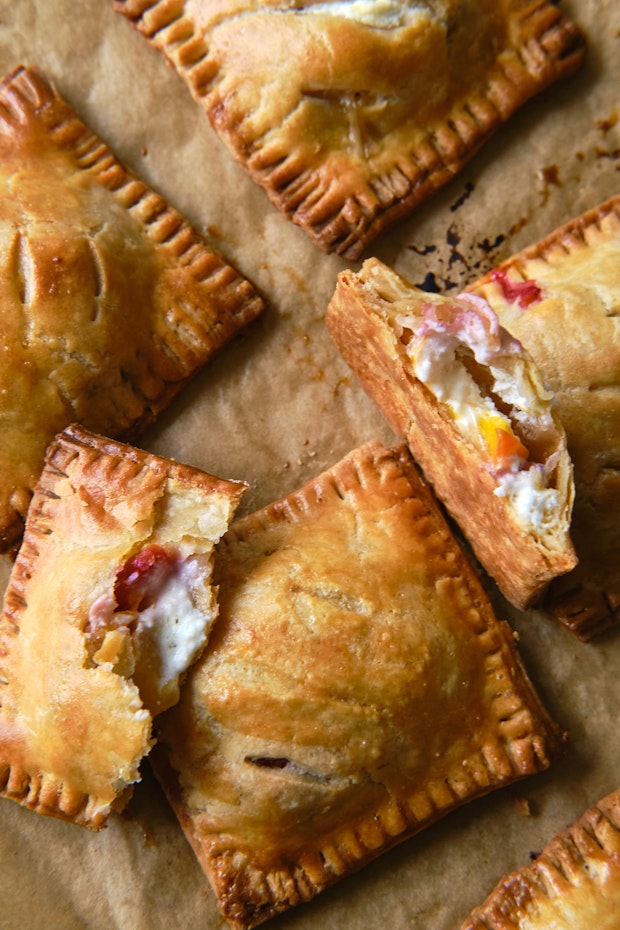
What Makes a Good Hand Pie?
There are really just two main components that need focus: the crust and the filling.
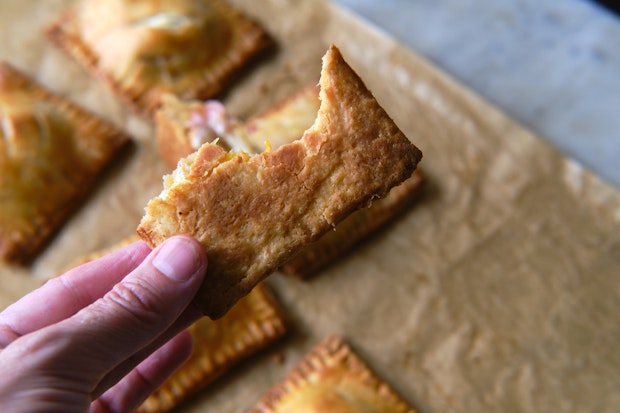
- The crust: This is my ride-or-die all-butter, flaky pie crust. It’s perfect for these hand pies and provides all the flavor and structure you need. Basically, you need a crust that provides structure. If you don’t get that right, you’re in trouble. Be sure to bake your hand pies at high baking temperature until golden and well set. No pale, underbaked hand pies please. Look at the structure and color on this one below, that's what you're after.
- The filling: To avoid a soggy hand pie, moisture is a bit of an enemy. Fruit (like peaches) can put off a good amount of it. A bit of moisture (and the flavor that comes with it) is ok, but I like to use a slotted spoon when filling hand pies to leave some of that behind. I also like a filling with strong, balanced flavors.
Hand Pie: Step By Step
Ok, let's do a quick run through of the major steps before you jump into the recipe.
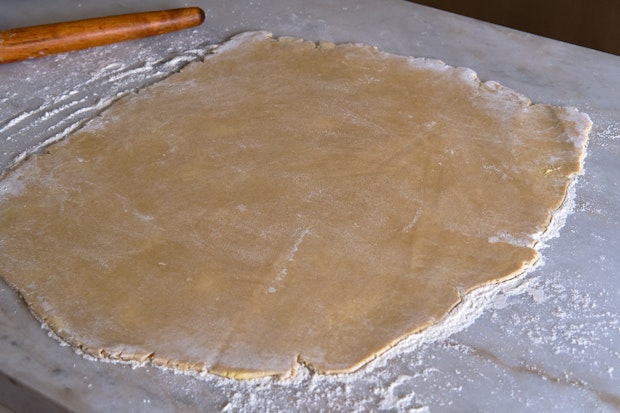
First thing, roll out the pie dough (below). Go thinner rather than thicker - about 1/8 inch. You can gather any scraps into a ball, re-chill, and keep rolling until you've used all your dough.
Stamp out your hand pie shapes. Again, use all of your dough.
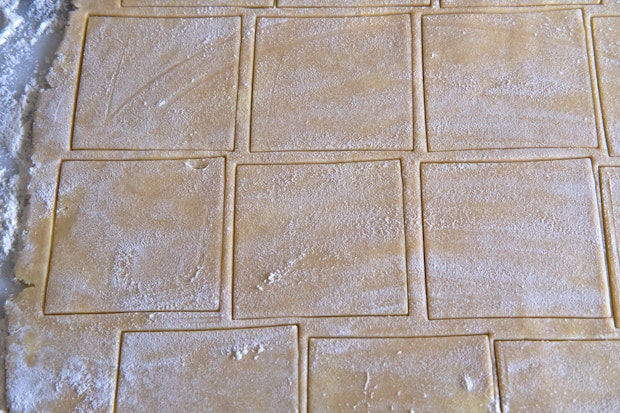
If your pie dough (little squares) is getting too warm at this point, arrange the squares on a parchment-lined backing sheets and pop in the refrigerator or freezer for a few minutes. Summer is the most challenging season for handling pie dough. Now, get ready to fill the hand pies, working quickly. Use the egg wash at this point, brushing the edges of the dough, for a good seal.
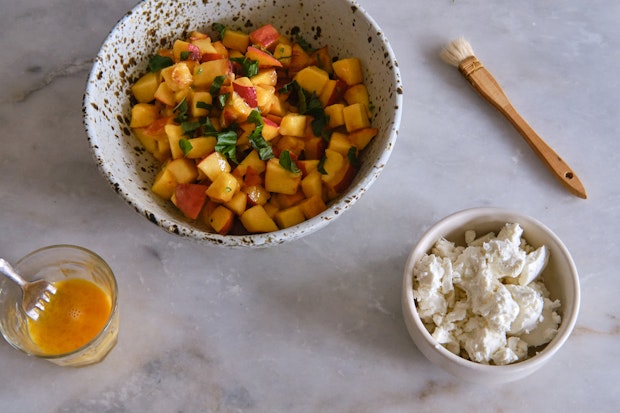
Fruit first, goat cheese second. (below)
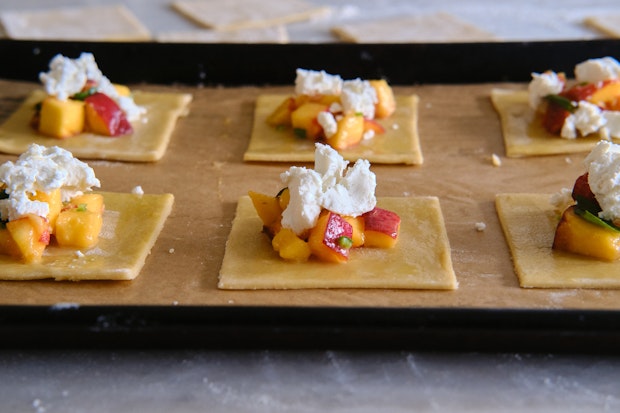
Once the pies are filled, top them, and use a fork around the perimeters for an extra good seal (photo below). This way the pies don't leak while baking.
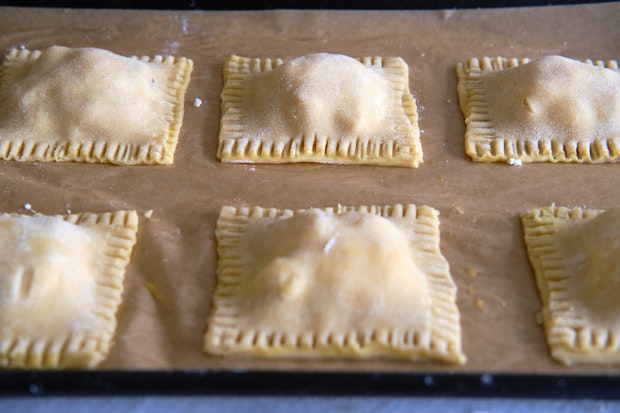
Pop the pies in the freezer for 10-15 minutes (or longer), before brushing with more egg wash (below), and cutting a few vents in each pie top.
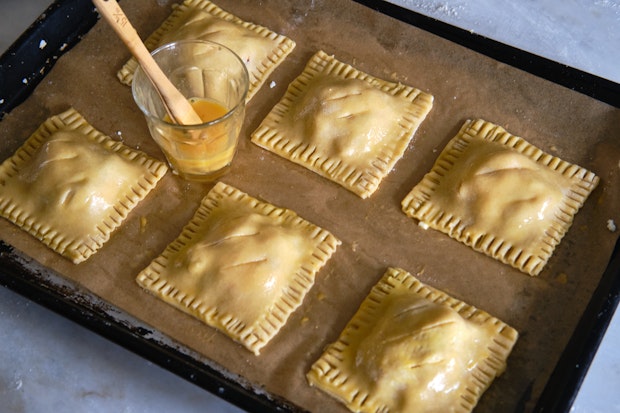
Exciting, you're almost there. We're ready to bake! Keep an eagle eye on the baking process and resist the urge to take the hand pies out of the oven too soon. Look for good color and structure. Look at the bottoms of the hand pies, in addition to the tops, in order to gauge where you're at in the baking process.
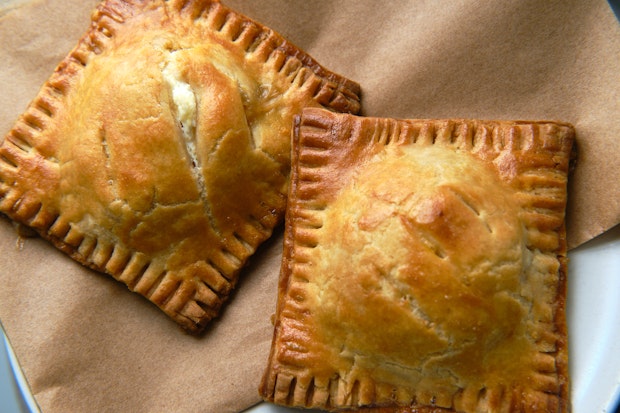
Other tips:
Hand pies are best consumed sooner rather than later. A second day hand pie is, likely, a sad, soft hand pie. Although, you might be able to revive one by popping it back in the oven for a few minutes. Quite honestly, you’re better off freezing the pies just after filling and finish the baking process just before you want to enjoy them. This is a long way of saying, bake as many as you think you'll eat, freeze the rest.
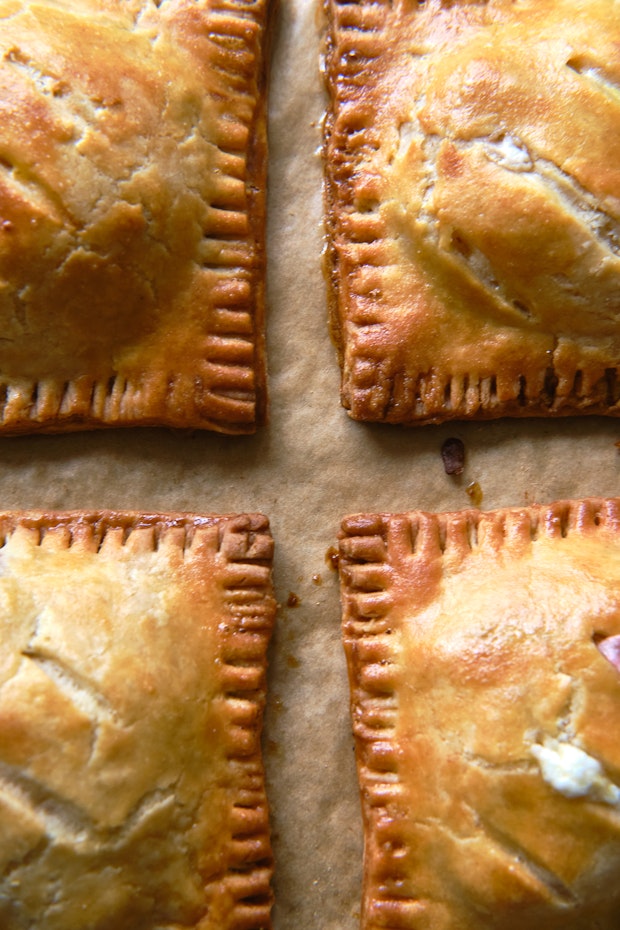
Variations:
- A Lil Bit More Rustic: Swap in a bit of spelt flour when making the pie crust. This recipe calls for 330 g of flour, and I like to swap in 30 g spelt flour.
- Pluot or Plum Hand Pies: Simply swap in whatever stone fruit you have for the peaches.
- Shape: Experiment with different shaped pies. I love hand pies with corners - shaped into squares or triangles. The corners get extra toasty and delicious. But have fun playing around with the shape of your hand pies. Circles are a classic, as are half-moons and crescents.
More Pie Recipes
- Shaker Lemon Pie
- Deep Dish Quiche
- All Butter Flaky Pie Crust
- Vegan Samosa Shepherd’s Pie
- Pumpkin Pie
- Coconut Cream Pie
- Vegetable Pot Pie
- Berry Pie
- Heavenly Chocolate Pie
- Shaker Apple Pie
- all pie recipes
More Peach Recipes


Premium Ad-Free membership includes:
-Ad-free content
-Print-friendly recipes
-Spice / Herb / Flower / Zest recipe collection PDF
-Weeknight Express recipe collection PDF
-Surprise bonuses throughout the year
Peach Hand Pies
This is the all-butter pie crust recipe I use for these hand pies, I swear by it. To shape the hand pies, I use a 3 3/4-inch square cookie cutter. You’re aiming for something in the range of 3 1/2 or 4-inches, ideally.
- 1 egg
- 1 recipe all-butter pie dough
- 6 ounces ripe peaches (about 2), cut into 1/2-inch chunks
- 2 tablespoons brown sugar
- 1 tablespoon flour
- 1 teaspoon lemon juice, plus zest
- 1/4 serrano chile, minced, or more to taste
- 1/4 teaspoon fine grain sea salt
- 6 basil leaves, torn
- 3/4 cup crumbled goat cheese
-
Heat your oven to 400°F with a racks in the middle. Add 1 teaspoon of water to the egg, whisk and set aside. Line two baking sheets with parchment paper.
-
Place the peaches In a medium bowl. Sprinkle with the brown sugar, flour, lemon juice, serrano, salt, and basil. Toss gently and set aside.
-
If your pie dough is in the refrigerator, let it sit out for a few minutes. Long enough to be receptive to a rolling pin. On a lightly floured counter, roll the pie dough out to about 1/8-inch thick. Thinner than you might be inclined. Make sure it isn’t sticking to your surface - flour and rotate all along the way. If it gets too warm, re-chill.
-
Assemble your hand pies. Cut or stamp the pie dough into large squares, about 3 3/4-inches in diameter. Transfer half of the squares to the baking sheets. Brush each of these with the egg wash. In the center of each square, leaving a border around the edges, top with a few tablespoons of the peach mixture. Use a slotted spoon, especially if the peaches have released a lot of liquid. Add 1 tablespoon of goat cheese to each. Brush the remaining squares with egg wash, along the edges (so you get a nice seal when pressed together). Put the lid on each hand pie, gently pressing down, using your finger to press the dough together along the edges. Crimp with a fork so the filling doesn’t leak from the sides.
-
Pop in the freezer for 10-15 minutes. Brush each pie with egg wash and bake for 15-20 minutes, or until golden, crisped, and beautiful! Allow to cool a bit, but these are best served warm. Enjoy sooner rather than later.
Make 10-12 hand pies.
Related Recipes
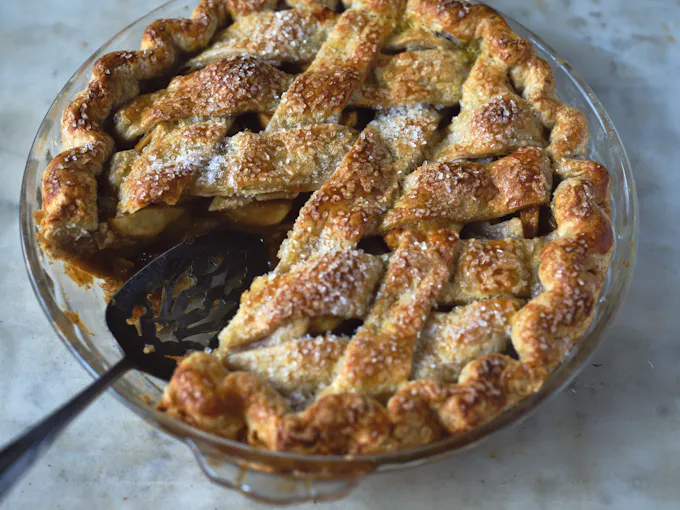
Pie Recipes: Favorite Sweet & Savory Pies
A collection of my most loved pie recipes, the ones I can't stop baking. Sweet or savory, fruit-filled or hand-held, these pies come out of the oven beautiful and fragrant. Classic at heart, with just enough modern edge.
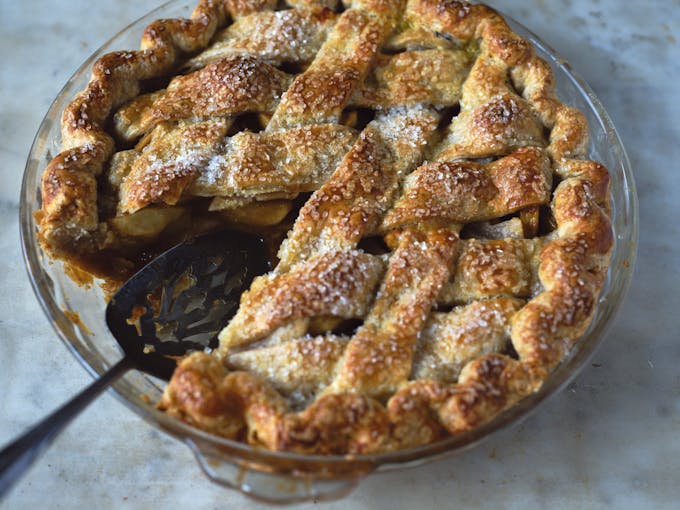
Shaker Apple Pie
The defining detail of this traditional Shaker apple pie is the use of rose water in the filling. Sliced apples, brown sugar, and a splash of floral results in a special combination. Pair it with an all-butter crust and you have a beautiful apple pie on your hands.
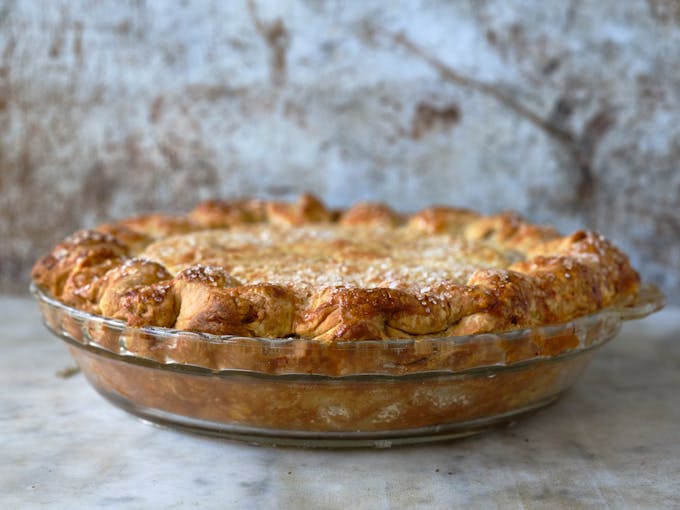
All-Butter Flaky Pie Crust
Most pages about pie crusts are going to point you to their “best ever” pie crust, but I’m taking a slightly different approach. I’m going to share a few of the inspirations that have impacted my pie baking over the years along with the pie dough recipe I currently use and love. Pie baking is a journey, and there are a few places I’d recommend jumping on or off along the way.
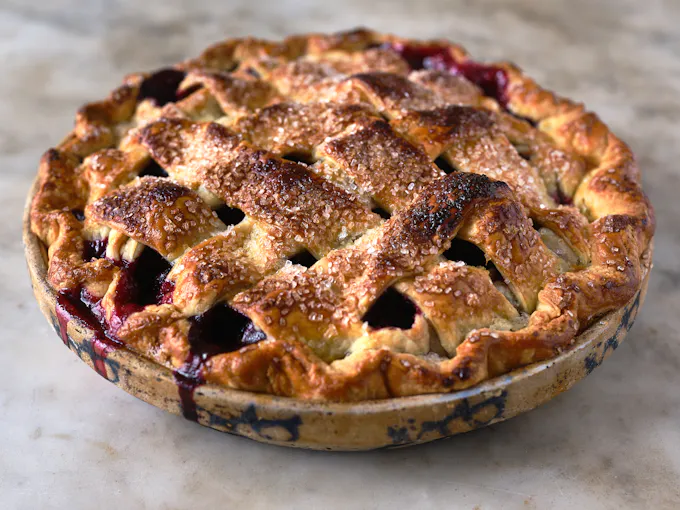
Berry Pie
When you have an abundance of blueberries, blackberries, raspberries, or huckleberries, this is the berry pie to make. It’s classic, with a juicy, sugar-kissed, mixed berry filling. Pair it with a flaky, all-butter crust and you have the ideal berry pie on your hands.
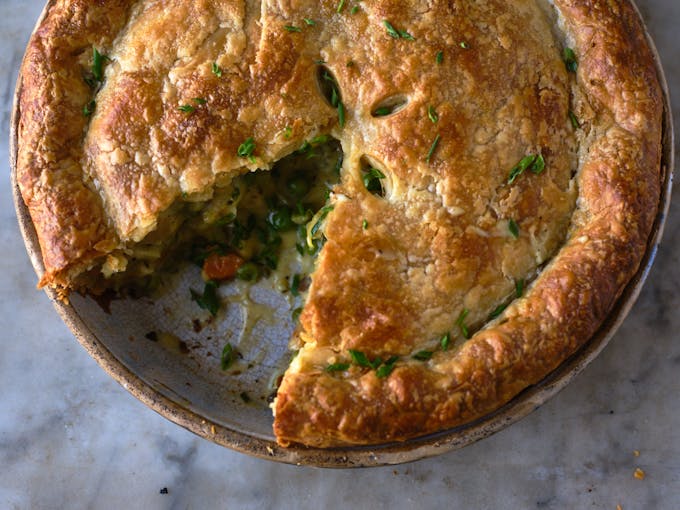
Vegetable Pot Pie
This hearty vegetable pot pie is made with a flaky, all-butter pie crust encasing a creamy, herbed potato, carrot, pea and onion filling. A homemade savory pie like this is such a treat! There are a couple tips you should know to help you take it from good to exceptional.
Post Your Comment
Comments
If you freeze them before cooking, do you cook from frozen – and if so, how long approximately? Or do you have to let thaw before cooking?
Hi Jessie – yes, bake them frozen. I pull them from the freezer, then do a quick egg wash and cut a few slashes. Tack on a few minutes to the bake. Enjoy!
More Recipes
Weekly recipes and inspirations.
Popular Ingredients