Sugar Cookies with Royal Icing
Classic sugar cookies topped with royal icing provide the perfect blank canvas for all your cookie design daydreams. These are my tips for getting your cookies just right.
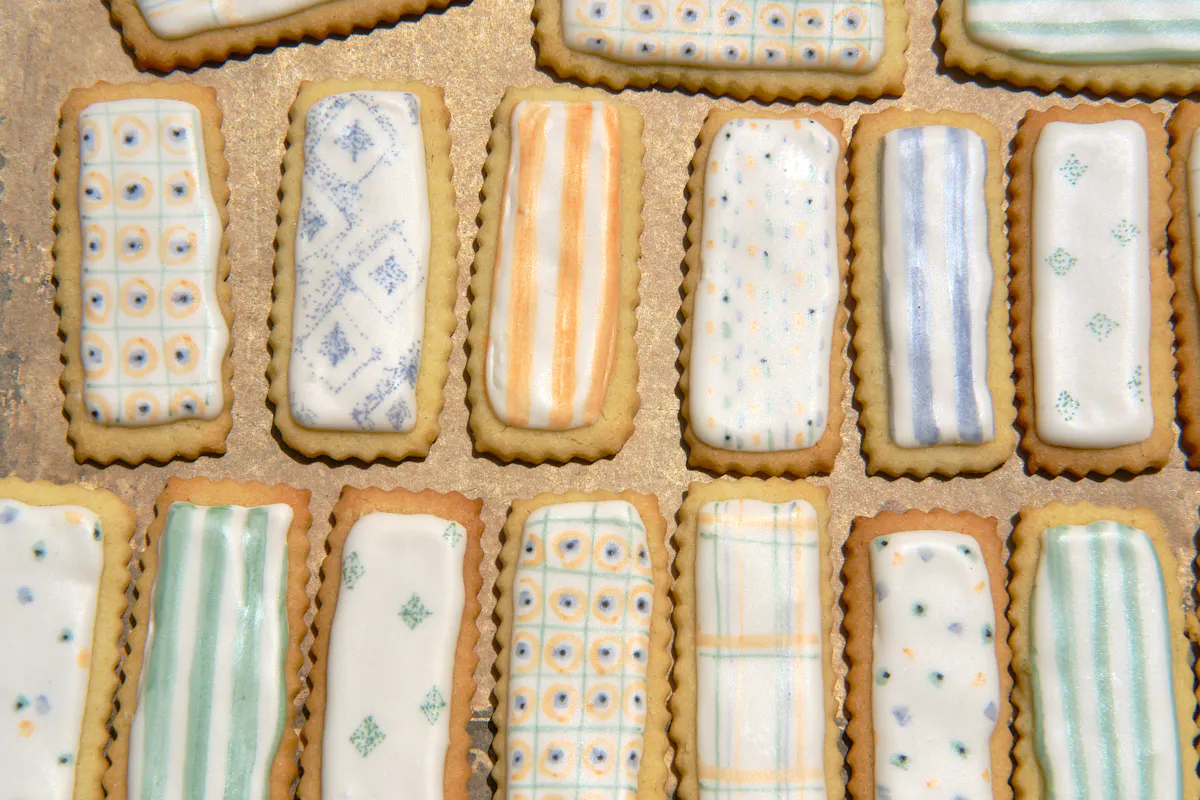
My love affair with sugar cookies, specifically the iced ones, runs deep. In large part because they allow for endless personalization. Whatever is going on in life, you can come up with a special iced sugar cookie as the ultimate home-baked gift. Birthdays, celebrations, holidays, milestones, literally anything. Blank canvas in cookie form. I also like to bake off batches and mess around with designs the way I might play around in a sketch book - inspired by color, a season, a fabric, an artist. The inspiration here is endless. This is the most recent collection I made, loosely channeling "end of summer" vibes - stripes and sherbet shades. The two components you need to get right are the cookies, and the icing. Here are my thoughts on both before we jump into the recipes down below.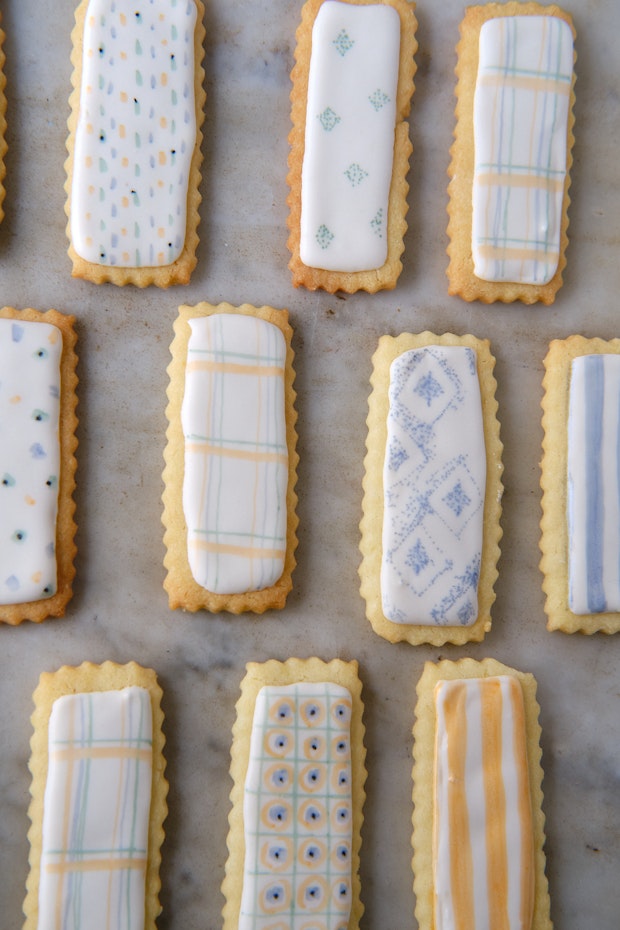
Sugar Cookies: The Foundation
Let’s talk about the foundation to start. You want your cookies to taste good, not just look interesting. So, I’ll start by noting that I’m not in the camp that bakes pale, super blond sugar cookies. I see a lot of them out there. The cookies with little (or no) color baked into them. When you let your cookies get golden at the edges, and when you’ve rolled them out about 1/4-inch thick, you get nice toasted sugar and brown butter notes along with a cookie that has really good structure. Once cooled they’ll give you a bit of snap when you break them, certainly at the edges. I love this. So that’s what I’m going to guide you toward in this recipe. The recipe below leans classic, I also often make a wonderful version using 100% whole wheat you keep whole wheat pastry flour on hand.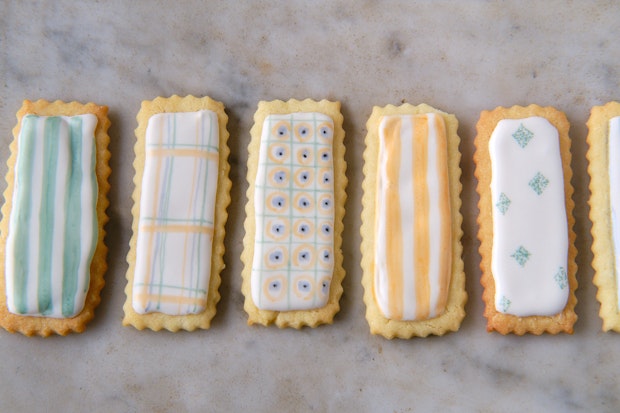
Royal Icing: The Flare
Royal icing is a simple mixture of egg white, powdered sugar, a bit of water (or other liquid), and a bit of flare if you like - extracts, etc. It’s sweet, sets up nicely enough that you can draw, paint, and sketch on top of it. You can also embed sugars, sprinkles, and other delights in the icing when it is still wet. I like to use dried egg white powder in place of egg whites for a number of reasons. But primarily because you avoid raw egg when you take this approach. Egg white powder is easy to source and the bag I bought recently won’t expire for over a year.
Sugar Cookies: Ingredients
Let’s talk through a few of the key ingredients here. I have some thoughts!
- Powdered Sugar: I tend to buy organic powdered sugar, it isn’t as bright white, but I don’t mind. While mixing, at first you’ll think, “yikes, this looks a little grey” - don’t worry, it brightens up as you mix. The sugar cookies here are dressed up with royal icing made with organic powdered sugar, so if you’re ok with the whites pictured in these cookies, use them as a reference.
- Egg white powder: Using it eliminates the need to use raw egg whites in the icing. This is the kind I tend to use. It’s a bit spendy, but a little goes a long way. A bag takes while to work through, so once you have a bag, you’ll be set for a good stretch of cookie making. It also keeps, well sealed, for a very long time.
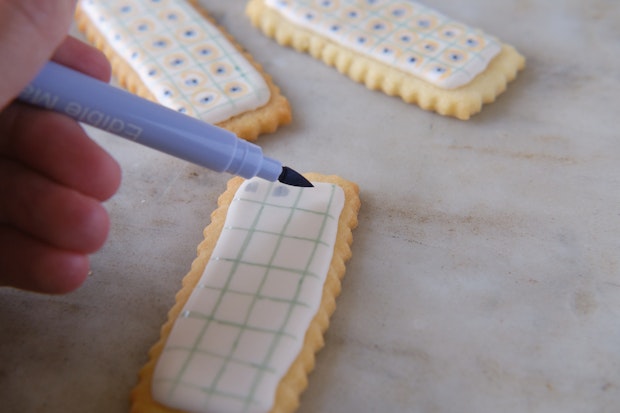
- Decorating: For these cookies I used edible markers to make the stripes and designs. There are lots of them out there in a range of colors. I tend to like to use these colored markers in place of using food dye to color the royal icing, because it has a nice aesthetic and allows you to do fine work and details. Alternately, for coloring batches of royal icing, I’ve been using these natural food colors. I buy them individually (red, blue, yellow) and blend the colors to my liking. Thin your royal icing with more water to achieve a more translucent look.
Sugar Cookies: The Method
Here are some photos that might be helpful as you walk through how to make these cookies. 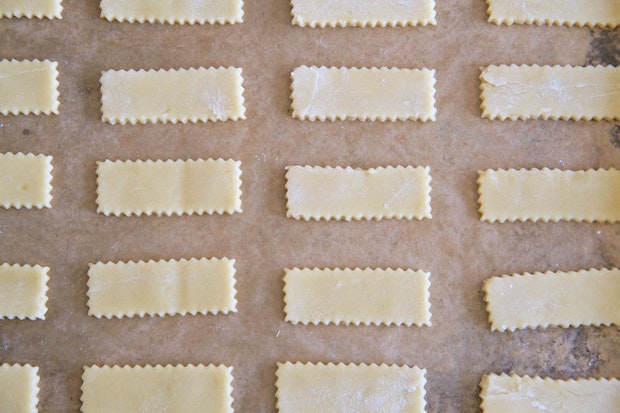
Shape and stamp: Once you've mixed your cookie dough, let it chill and rest for a few hours, then roll it out. I tend to go 1/4-inch thin, or a shade less. Use whatever you can imaging to stamp your cookies - traditional cookies cutters, by hand with a knife, little cups, etc!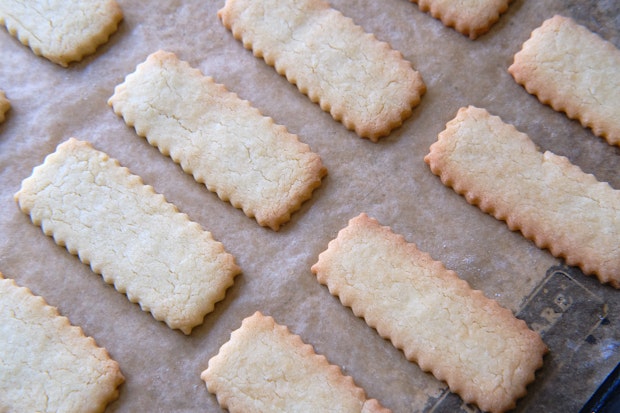
Bake: Here you can see that I like to bake some color into my sugar cookies (above). The flavor is toasty and wonderful. 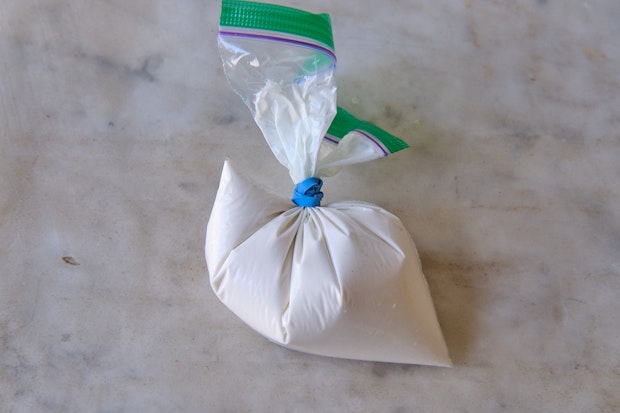
Piping Icing: You don't need to have special pastry gear to decorate cookies. I typically fill a baggie, and snip of the tiniest bit of one corner. It does the job. 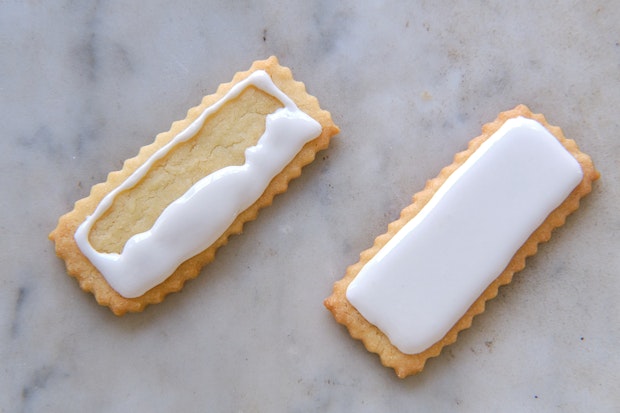
Flood cookies with icing: Pipe a line around the perimeter of each cookie. Fill in the rest, guiding icing into any gaps with a skewer (or something similar). Let the icing set completely, ideally, overnight (see below). You can see this process in the video down below.
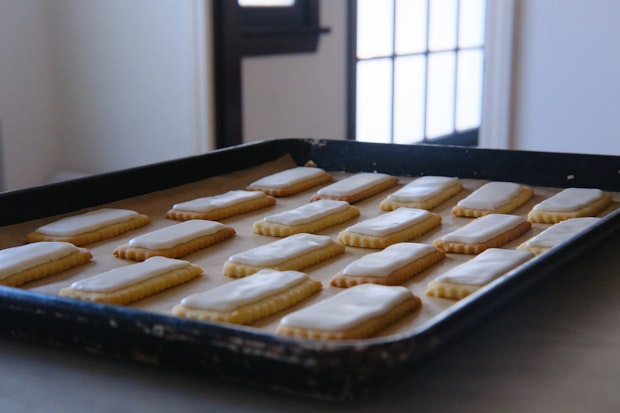
Add special designs, patterns, and colors: Now the fun really starts. Customize your cookies using edible ink pens and/or colored royal icing and allow to completely dry.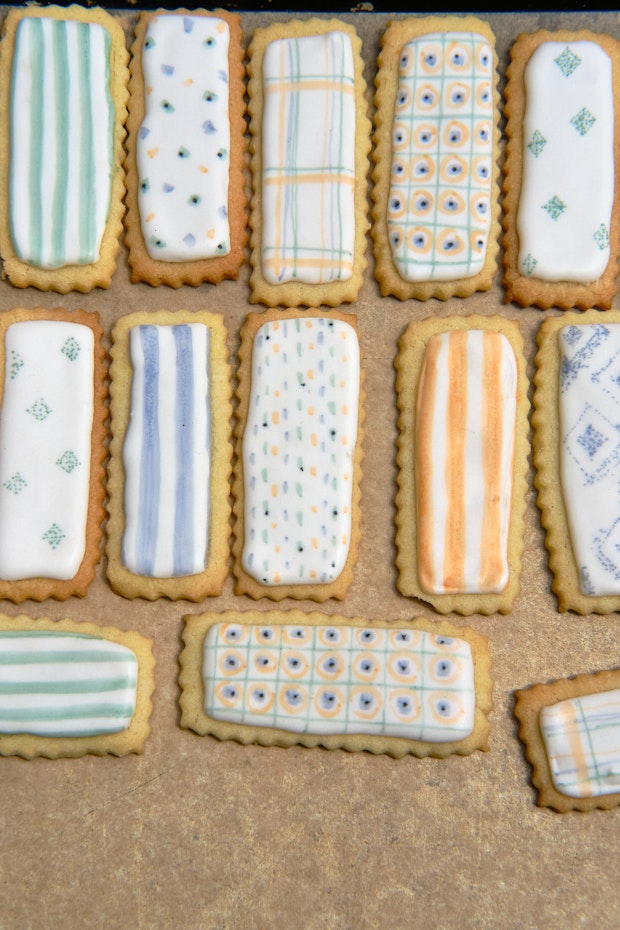
Video: Decorating Sugar Cookies
More Cookie Recipes
- Chocolate Cookies
- Shortbread
- Whole Wheat Sugar Cookies
- Snickerdoodles
- Triple Ginger Cookies
- David Lebovitz’s Great Chocolate Chip Cookies
- The World’s Best Cookies
- all cookie recipes

Premium Ad-Free membership includes:
-Ad-free content
-Print-friendly recipes
-Spice / Herb / Flower / Zest recipe collection PDF
-Weeknight Express recipe collection PDF
-Surprise bonuses throughout the year
Sugar Cookies
If you want to use unsalted butter for these go ahead, just up the salt to 1 teaspoon.
- 4 1/3 cups / 545g unbleached all-purpose flour
- 1/4 teaspoon fine grain sea salt
- 1 teaspoon baking powder
- 1 1/4 cup / 285g salted butter, room temperature
- 2 cups / 400g granulated sugar
- 2 eggs
- 2 teaspoons almond extract or vanilla extract
- For decorating: Royal Icing (recipe below), sprinkles, and or decorative or colored sugars
-
Combine the flour, salt, and baking powder in a bowl and set aside.
-
Cut the butter into 1-inch cubes and use an electric (or stand) mixer with a paddle attachment to combine the butter with the sugar until the mixture is light and billowy, usually a minute or two depending on the temperature of the butter. Scrape down the sides of the bowl once or twice along the way so you get a nice, uniform blend. Add the eggs, one at a time, and then the extract. Stop and scape down the sides of the bowl once or twice as you progress through this stage as well. Add the dry ingredients and mix on low speed until well combined and there is no visible flour left.
-
Turn the dough out onto the counter. Shape into a flat, rectangle shape, roughly an inch thick and wrap well with plastic wrap. Refrigerate for a few hours, or up to a few days. If you’re not going to cut and bake cookies within that time frame, wrap the dough in another layer of plastic wrap and freeze for up to a couple of months.
-
When you’re ready to bake, line cookie sheets with parchment paper. Preheat oven to 350°F.
-
When it is time to roll out the cookie dough, it’s all about keeping the dough cool enough that it isn’t a nightmare to work with. At the same time, it needs to be warm enough that it is pliable and easy to roll out. If the dough gets too warm, transfer it onto a parchment lined baking sheet or large plate and refrigerate for a bit, then try again.
-
After removing the dough from the refrigerator, let it sit out for 7-10 minutes. Cut the dough in half, rewrap half and put it back in the refrigerator to keep cool. Lightly dust your work surface, the dough, and a rolling pin with flour. You want to avoid sticking at all costs, so keep moving your dough around, and work as efficiently as possible. Start rolling out the dough starting in the center, moving toward the edges, if the edges are cracking a bit roll the pin across these areas along the perimeter, it should come back together. Roll the dough 1/4-inch thick. Use your cookie cutters to stamp shapes, then transfer to the baking sheets using a spatula, leaving 1/2-inch between cookies. I like to place these baking sheets in the refrigerator or freezer at this point to 10-15 minutes before baking to lock in the shapes, but you don’t have to. Gather any remaining dough scraps, shape, and refrigerate to use once it has chilled again. Repeat with the rest of the dough, rolling, stamping, when you’re ready.
-
Bake for about 8-12 minutes, rotating the pans half way through, especially if your oven has hot spots. The edges should be getting golden. Keep an eagle eye on the cookies, they will go from a bit golden to burned in the blink of an eye because they’re thin. Wait a few minutes and then transfer cookies to a rack to cool completely before decorating.
-
Decorate the cookies with royal icing (recipe below). Alternately you can sprinkle them with sugar before baking if you’re going to skip the icing on any of them. There are more detailed icing instructions below.
Makes 48 medium cookies.
Royal Icing
The amount of water called for in this recipe will vary depending on how you want your royal icing to flow. For flooding large spaces I like it roughly the consistency of runny honey. But sometimes, I like more of a translucent vibe, a wash of sorts, and for that I thin it out with more water. And I prefer the flavor of almond extract here, but you can (of course) use vanilla extract if that is what you keep on hand.
- 4 cups / 454g powdered sugar
- 2 tablespoons egg white powder
- 1/4 cup water, plus more to thin (usually another 2-3 tablespoons)
- 1 1/2 teaspoons almond extract or vanilla extract
-
Use an electric mixer with the whisk attachment to combine the sugar, egg white powder, water, and extract. Mix on medium speed until most of the lumps are out and the mixture is cohesive. Add more water, a small splash at a time, and mix until the icing is glassy, smooth and the consistency you’re after.
-
Store in a bowl with plastic wrap pressed onto the surface to prevent it from forming a skin. It can keep like this for days refrigerated. Before you’re ready to fill an icing bag, whisk well and adjust with more water if needed.
-
To start icing, fill a plastic baggie, or pastry bag. I typically fill a small plastic bag about 2/3 full with icing, guiding it toward one of the bottom corners, and securing with a rubber band, you can see it photographed up above. Snip the smallest possible corner off the baggie, Really small. Test, to see if that works for you, and adjust from there.
-
For each cookie, pipe a thin border with the icing. Next, flood the center of each cookie by piping frosting into the center of each cookie, or by going back and forth with lines. Use a skewer, pastry tip, etc. to gently guide icing to fill and gaps. The entire surface of the cookie should be flooded. If you want to add sprinkles or colored sugar, this is the time to do it - before the icing sets.
-
Arrange the iced cookies on a parchment lined baking sheet and allow to set overnight.
-
Once the icing dries and hardens you can add any other details or designs with edible markers or more (colored) royal icing. Once that has dried, you can store cookies in air-tight container for a week or so.
Makes about 2 cups.
Related Recipes
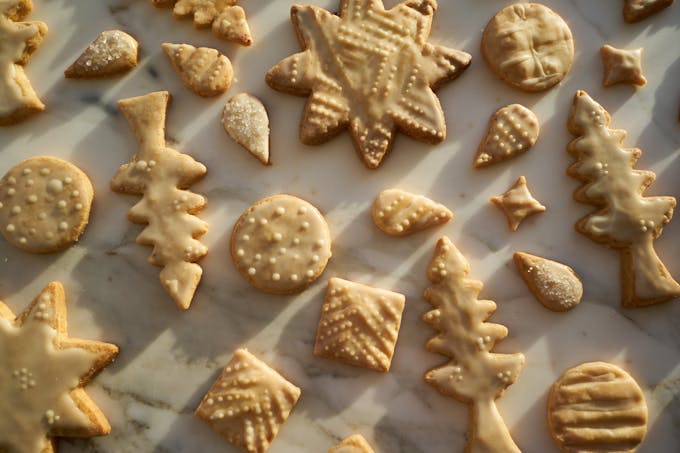
Simple Whole Wheat Sugar Cookies
This is the recipe I use anytime I want perfect sugar cookies made with whole wheat flour. They have great flavor, and the dough is a dream to work with.
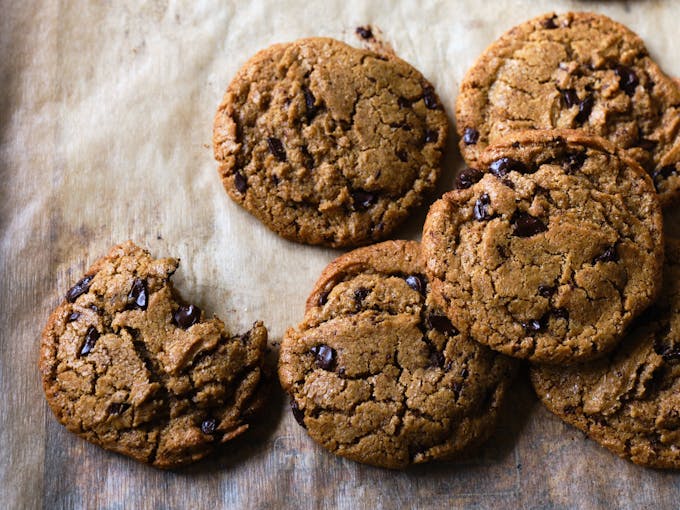
30+ Best Cookie Recipes
Great cookie recipes are like gold. Here's a list of 30+ fantastic ones to try!
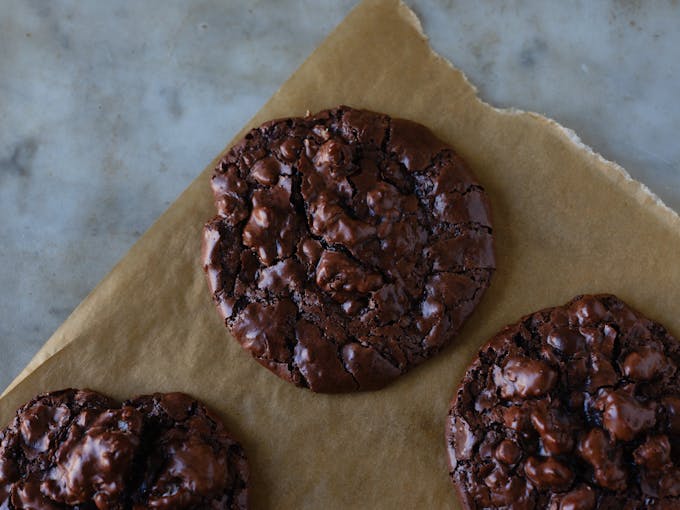
Best Chocolate Cookies
This is the best chocolate cookie I bake. And I don’t say that lightly. It’s a crackle-edged puddle of chocolate with a texture like a collision between a soft meringue and a fudgy brownie. Part of my essential cookie repertoire!
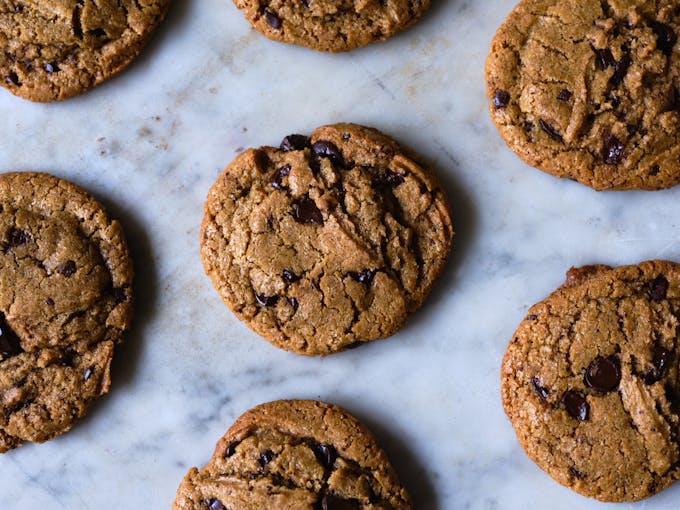
Chickpea Chocolate Chip Cookies
From The Miller's Daughter cookbook, these chocolate-flecked cookies are made with chickpea flour, tahini, and brown sugar for a brilliant twist on peanut butter chocolate chip cookies. The texture is crisp at the edges and soft-centered with oozy puddles of chocolate throughout.
Post Your Comment
Comments
Made these for my daughter’s baby shower last weekend. Beautiful! They were a big hit! I also made a GF version. Many thanks Heidi!
Love reading this CS!
Would you share the brand of edible markers you used? They look pastel?
Thank you.
Hi CS – I can’t remember the exact brand, but if you poke around online, you can identify the colors you’re after. I like pastels, but there are also saturated shades and primaries around as well.
They are so sweet, Heidi. Did you do all the colors with edible markers? Even the thicker stripes? I’m thinking about a baby shower!!
Hi CS – yes, I did all the colors with the markers this time, even the thicker stripes. You can go over multiple times for saturation. Have fun!
These are so beautiful! Looking forward to making them.
Thank you!
More Recipes
Weekly recipes and inspirations.
Popular Ingredients